5 ways you can use the Pixel Magic Editor
Want to learn Photoshop, but find it too intimidating?
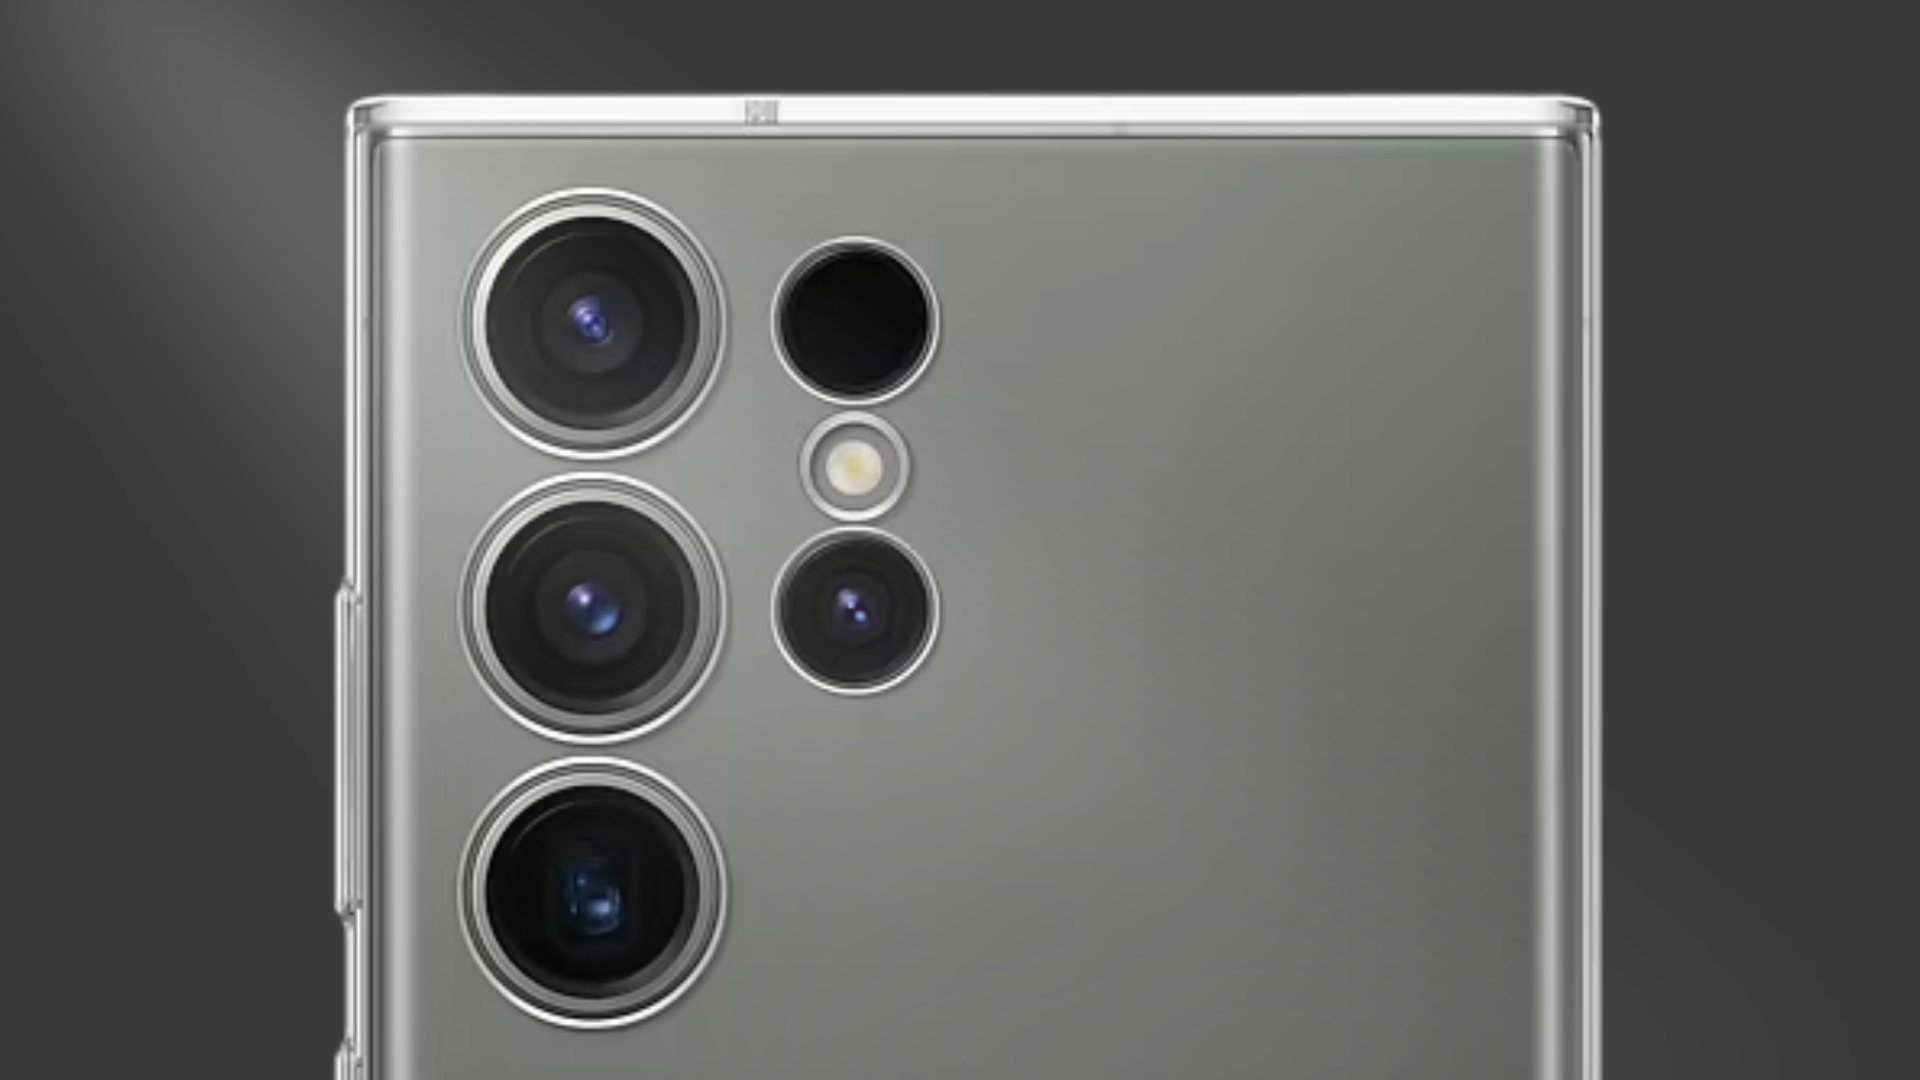
Enter the Pixel Magic Editor, which is an AI photo-editing tool found exclusively in Google’s latest smartphones – the Google Pixel 8 and Google Pixel 8 Pro.
In this article, we’ll showcase how powerful this AI-powered tool is, and how easy it is to use.
We’ll cover:
PS: You can shop the Google Pixel 8 and Google Pixel 8 Pro here:
What is the Pixel Magic Editor?
The Pixel Magic Editor is Google Photos’ generative AI-powered photo-editing tool.
Here's how it looks:
As we’ve mentioned, this feature is exclusive to Google’s latest Pixel phones – the Google Pixel 8 and the Google Pixel 8 Pro.
Simply put, this feature allows you to make complex edits to your photos without needing pro-level editing skills or Photoshop.
And because it’s an in-built tool, you can use it seamlessly without downloading a third-party app for photo editing.
What can the Pixel Magic Editor do?
The Pixel Magic Editor is pretty versatile, and it allows you to do many things, such as:
We tested out all the use cases for ourselves – scroll down to see the before and after of the pictures we edited!
#1: Customising different background styles with the Pixel Magic Editor
This feature is pretty self-explanatory – it lets you change the background of your picture.
First, pick a photo with a background that you wish to modify.
When you activate the Pixel Magic Editor, you can choose between three options:
Sky (gives you different skies to choose from)
Golden Hour (switch out your current sky with a golden-hour sunset)
Portrait/Stylized/Water
The first two editing options (“Sky” and “Golden Hour”) only apply to outdoor shots with sunlight and a sky in frame.
If you edit an image that’s shot indoors, those options won’t be available.
As for the last editing feature, you’ll see that there are three different options – “Portrait” vs “Stylized” vs “Water”.
Here, Google suggests the best option depending on the contents detected in your photo.
If you’re editing a selfie, for example, you’ll probably see “Portrait” as an option.
Here’s how each of these options work:
Pixel Magic Editor: Sky
Notice how Magic Editor generated a sun glare in the upper left corner of the photo?
It also removed the existing clouds in the original shot – giving the illusion of a bright and clear sky.
Pixel Magic Editor: Golden Hour
On Instagram, users are always trying to recreate the viral #goldenhour look – where the subject is bathed in a natural warm glow.
The tricky part is, you’ll have to get the timing just right to get the golden hour glow.
Or... you can use the Pixel Magic Editor instead!
Pixel Magic Editor: Portrait
If you’re taking selfies or portraits, they look much nicer when you have a bokeh (read: an artistic blur) that separates the subject from the rest of the image.
As you can see in the pictures above, you can easily create this with the Pixel Magic Editor!
#2: Removing subjects from the background with the Pixel Magic Editor
The Pixel Magic Editor is perfect for situations when you can't get a clean picture without random strangers in your background.
The editor allows you to remove people (or objects) from your picture, giving you a cleaner image.
Now, if you own a Pixel 8 or Pixel 8 Pro, you actually have access to two different features that let you clean up an image. These are:
Pixel Magic Editor (which we’ve been talking about in this article)
Magic Eraser (another AI photo tool that’s specifically meant for removing items from your images)
We tested both these features out, and here were our results:
Picture edited with the Pixel Magic Eraser:
As you can see, the “After” picture looks much cleaner than the “Before”.
The Magic Eraser removed whatever it deemed to be background noise, so that the subjects are the focus of the shot.
Picture edited with the Pixel Magic Editor:
Looks pretty different, huh? 👀
Instead of simply removing the unwanted items in the background, the Pixel Magic Editor creates a different image by generating more elements to tie the picture together.
For example, you can see how the boat on the left has been replaced by mangrove roots.
Do you prefer the Magic Eraser edit or the Magic Editor edit?
You can always play around with both features – which feature works the best will differ on a case-by-case basis, depending on what picture you’re editing!
#3: Changing the composition of pictures with the Pixel Magic Editor
Say you’re on a solo trip, and you ask someone to take a picture for you.
You look at the photo taken, and it’s just... bad. You’re barely visible, and it’s not aligned to how you like it.
With the Pixel Magic Editor, you can easily fix that.
In the photo, the main subject has now become larger, without looking like it was edited awkwardly.
#4: Moving subjects around with the Pixel Magic Editor
Just as you can change the size of the subject, you can also move the subject around:
See how the man in the edited picture has now moved to the left?
It’s really easy to do this - just select the subject and drag it to your ideal position.
This feature is great for group shots, when someone’s a little too far from the rest of the group.
#5: Generating new content for continuity with the Pixel Magic Editor
If you have an image that’s incomplete or that’s cut off awkwardly, Pixel's Magic Editor can help fill in the gaps, and generate new content. 🤯
We tried the technology on a few pictures, and it worked beautifully:
You can see that the subjects have been filled up naturally, without any obvious signs of editing.
Creating IG-worthy pictures using the Pixel Magic Editor
We all know that maintaining an aesthetic IG feed is a tough job 😉
Now that you’ve seen what the Pixel Magic Editor can do, let's try creating an IG-worthy photo using its different AI functions.
Taking one of the photos we used earlier, let’s try to:
Replace the sky with a better-looking sky
Make the subject bigger
Remove all the people in the background, so that it looks like a private beach
After all the edits, here’s how the final result looks:
Creating aesthetic photos has never been easier!
More about the Google Pixel 8 and Pixel 8 Pro
That’s all we have for you on the Pixel Magic Editor!
The bottom line? The Magic Editor is a truly impressive feature, and it makes editing photos so incredibly easy.
Magic Editor aside, the Pixel 8 and Pixel 8 Pro come with other great features such as:
Audio Magic Eraser (this lets you erase distracting sounds from videos)
Night Sight Video (this lets you capture clearer videos, even in low-light conditions)
Live Translate (this lets you interpret conversations in 49 languages, transcribe messages while you chat and translate menus in foreign languages)
For those who utilise their phone’s AI assistant a lot, Pixel phones also come with Google Assistant – which is generally considered to be one of the best AI assistants available.
Want to experience a Google Pixel phone first-hand?
Get the Google Pixel 8 and Google Pixel 8 Pro here.